

3. Get a proper power supply
Don’t power the Raspberry Pi from a computer’s USB port as they just don’t have the power surplus needed to prevent power related issues such as SD card corruption, Raspberry Pi freezing, and other sporadic issues. A 2 amp supply is usually sufficient, but a 2.5 amp supply is recommended for the Raspberry Pi 3.
Many of the higher current power supplies will have a male barrel output connector. Use Adafruit’s 2727 jack-to-Micro USB-A plug cable adapter with any 5 V, center-positive 5.5 x 2.1 mm barrel power supply to adapt it to the Raspberry Pi 3 (Figure 3).


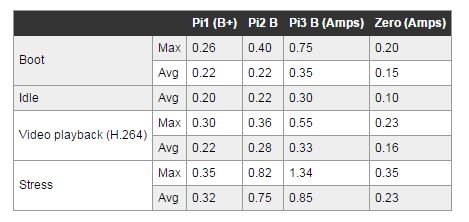
The Raspberry Pi doesn’t need all that current itself. The objective is to use a supply with enough overhead so that the input voltage does not sag as other electronics and accessories are connected to the board. With that in mind, here’s a look at the general power requirements.
Depending on the model, Raspberry Pi’s draw around 100 mA to 300 mA in idle mode, with each successive iteration of the Pi drawing more current (Figure 4). If the application demands ultra-low power, factor that into the Raspberry Pi selection process.
If the Pi is going mobile, note that it may not draw enough current to allow most USB portable power banks to turn on due to the way their internal circuitry is set up. Get either the 4000 mAh model 1565 or the 10,000 mAh model 1566 battery packs from Adafruit as they have already been confirmed to work with the Pi.
4. Get or make a USB cable with an inline on/off button
Raspberry Pi’s don’t come with a reset button or power switch onboard. To avoid unplugging and re-plugging the USB cable every time the board freezes and needs to be reset, get a USB cable with an inline on/off button such as 2379 from Adafruit. This need is a consequence of experimentation and learning. It’s inevitable that beginners will lock up the system as they progress up the learning curve. It’s much easier to have a button to press rather than a cord and connector to deal with, reducing aggravation, as well as unnecessary USB connector wear.
However, a note of caution: Under normal circumstances, don’t default to using the on/off button to turn the Raspberry Pi off. Simply killing the power can corrupt the SD card, so always follow the proper shutdown procedure (see “Where is the on/off switch”).
5. Keys to success: the Raspberry Pi accessory boards
The Raspberry Pi is a powerful SBC, but no single board computer will have everything. Fortunately, there is an abundance of readily available accessory boards for the Pi to augment its capabilities.
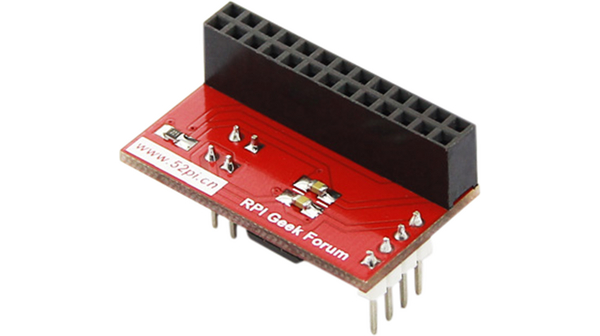
For instance, the Raspberry Pi has no onboard analog-to-digital converters (ADCs) for data acquisition, but there are several converter solutions. One good solution is the purpose-built 103990060 ADC and digital-to-analog converter (DAC) board from Seeed Technology (Figure 5).
Another way to equip a RasPi with ADC inputs is to offload the job to a small Arduino board, like the Adafruit 3.3-volt Trinket.
To do this, first review “10 Things to Know Before Starting Your Arduino Project,” and then program the board with a simple sketch to do the analog data collection. The data is relayed back to the Pi over a serial connection.
More directly, there are Arduino boards that are custom made to work with the Raspberry Pi, such as Seeed’s AlaMode and DFRobot’s DFR0327 expansion shields.
Tasks that require real-time execution will definitely need an accessory board as Raspian does not do so. Raspbian/Linux divides CPU time and allocates it as needed to the applications, the Python code, and Raspbian itself. The unpredictability of this resource shuffling makes real-time execution impossible.
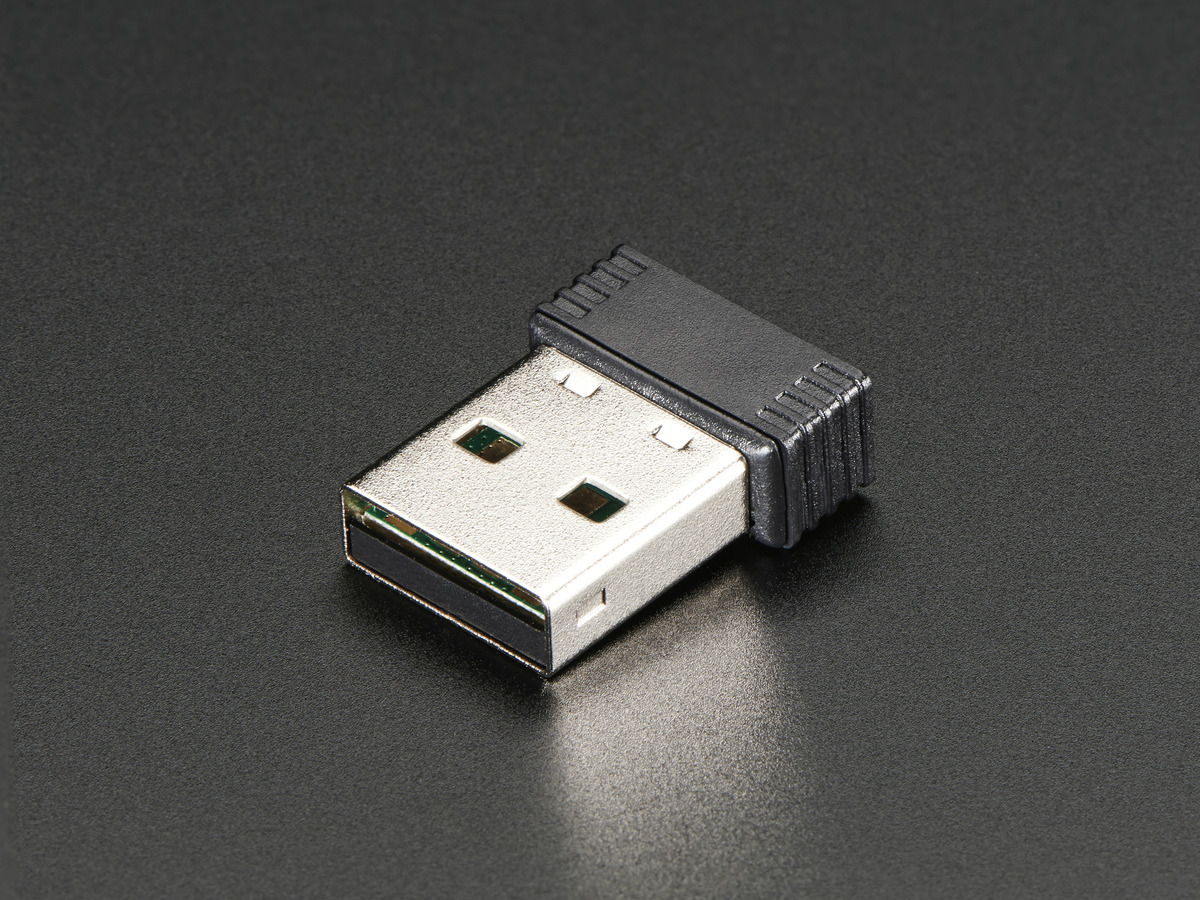
6. Wi-Fi dongles
The easiest way to install updates and apps onto a Pi is with an Internet connection over Wi-Fi, which the Raspberry Pi 3 has conveniently built in (802.11n). However, other versions of the Raspberry Pi do not have Wi-Fi, so it may be necessary to purchase a Wi-Fi dongle. If so, do the necessary research to be sure it is recognized by the Raspbian OS. One known good dongle for the Raspberry Pi is Adafruit’s miniature 814 802.11/b/g/n module (Figure 6).